Getting UV Curing Right in Textile Printing
When people talk about UV curing in textile printing, they usually just think about “turning on a light.” But it’s actually a bit more like a chemistry experiment. We’re using specific UV wavelengths to kickstart a reaction in the ink, snapping it from a liquid to a solid film the second it hits the fabric.
The Trick to an Instant Cure
If you want a crisp print that doesn’t bleed or smudge, you need the right amount of energy. It’s a balancing act. If your wattage is too low, the ink stays tacky—and nobody wants that. But if you crank it up too high? You’ll scorch the fabric or ruin the colors. You have to play with the conveyor speed and the lamp intensity until you find that sweet spot. It takes a bit of tweaking, but once you hit it, the results are night and day.
Dealing with the Heat
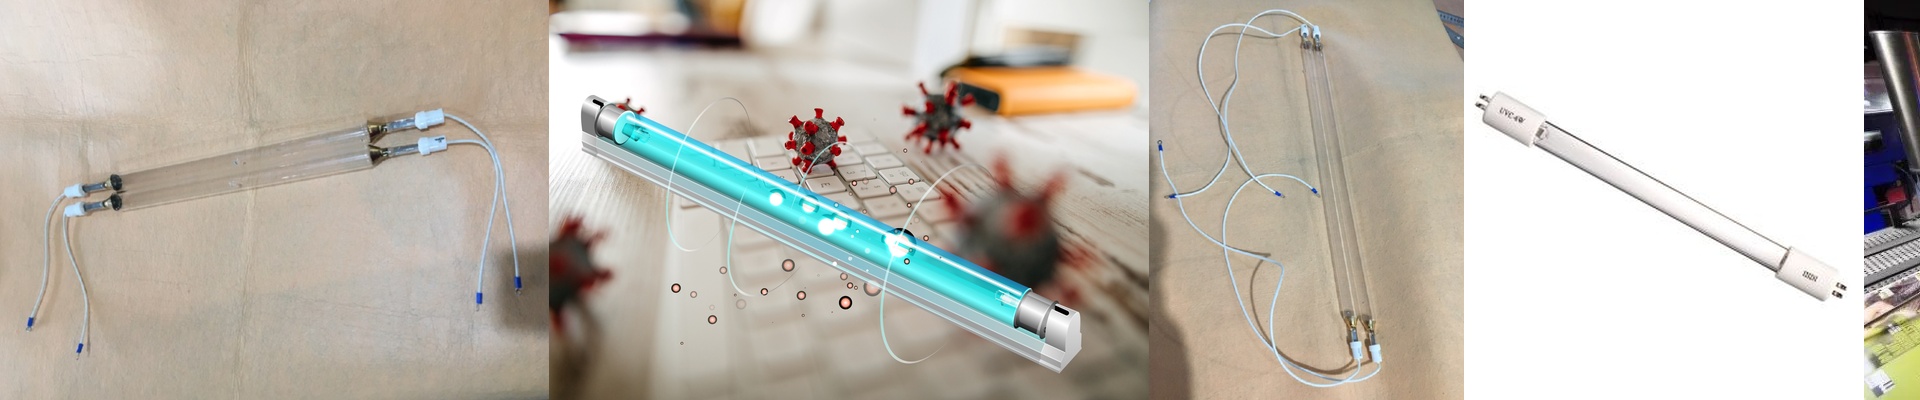
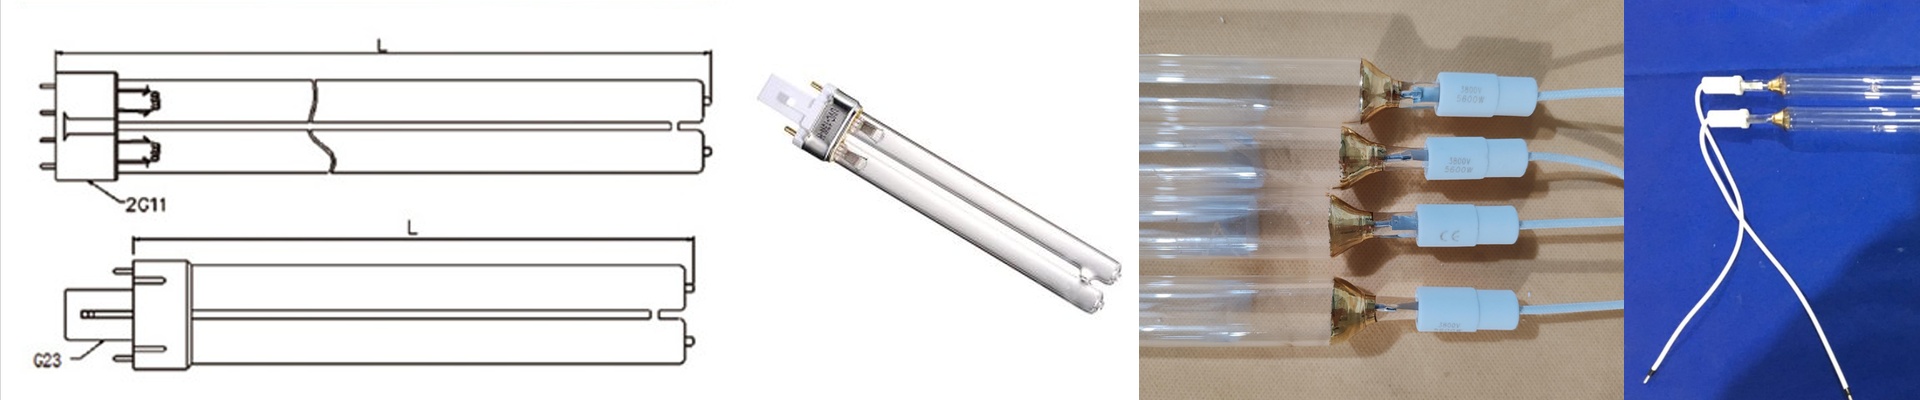
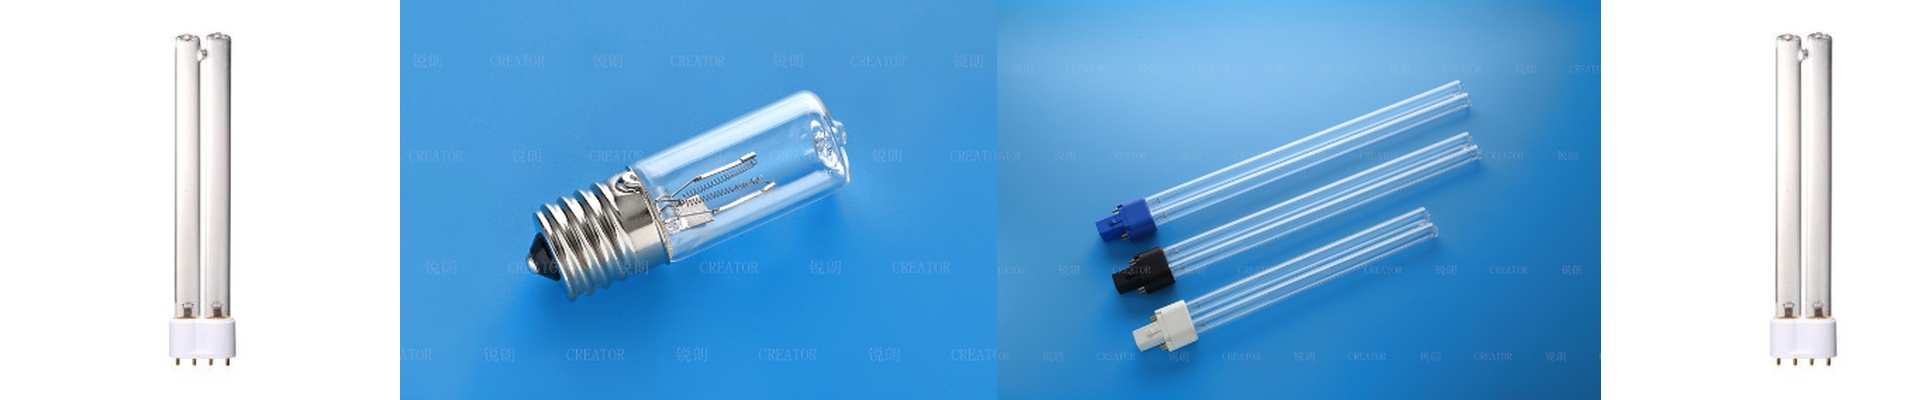
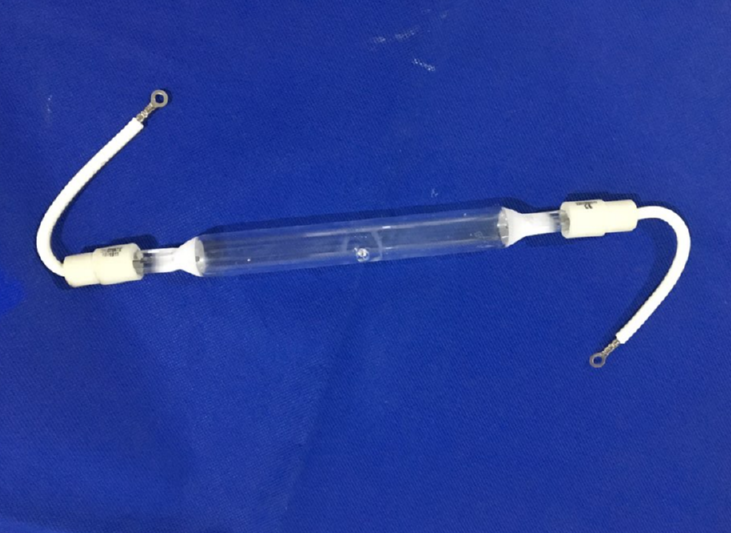
Here’s the thing: high-intensity UV lamps gethot. Really hot. We use quartz glass envelopes because they let the UV light through while handling the thermal shock without cracking. But the heat is still there, and it can be a problem. If you aren’t careful, your fabric will shrink or warp. That’s why we add cooling manifolds. You can go with forced-air or water-cooled jackets, depending on what you need. Just a heads-up: if your cooling isn’t beefy enough for the lamp’s wattage, the lamp will overheat and your UV output will tank.
Putting it All Together on the Floor
When you’re actually installing these on the line, space is everything. Pay close attention to the gap between the lamp and the fabric. Seriously—a few millimeters can be the difference between a perfect cure and a mess. We design our reflectors to push all that energy straight down so nothing goes to waste. One last tip: check your power supply. These lamps have a huge surge of current when they first kick on. If your wiring isn’t ready for it, you’ll be tripping breakers all morning. Get that sorted, and you’ll have ink that bonds tight to the fibers while the fabric still feels soft to the touch.